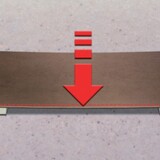
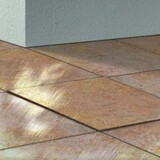
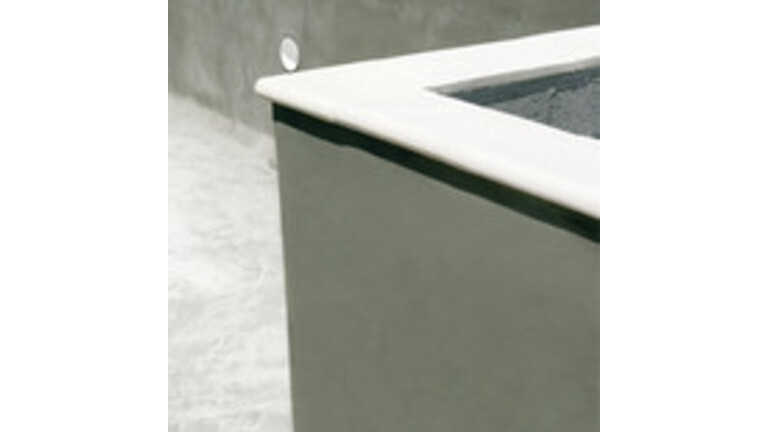
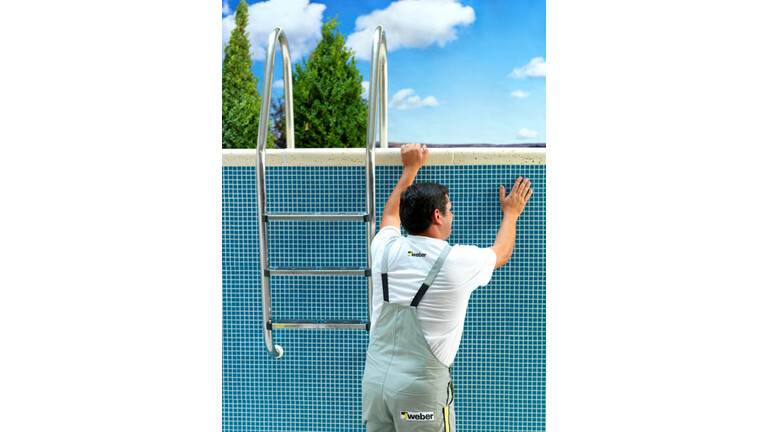
Concrete walls or hollow-block walls are not sufficient to ensure a full waterproofing and avoid leakage of a swimming pools, also cracks that may occur in the concrete also facilitate water leakage.Tile fixing to be done on the surface of the pool do not provide water isolation by itself.

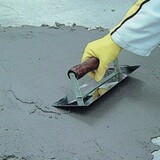
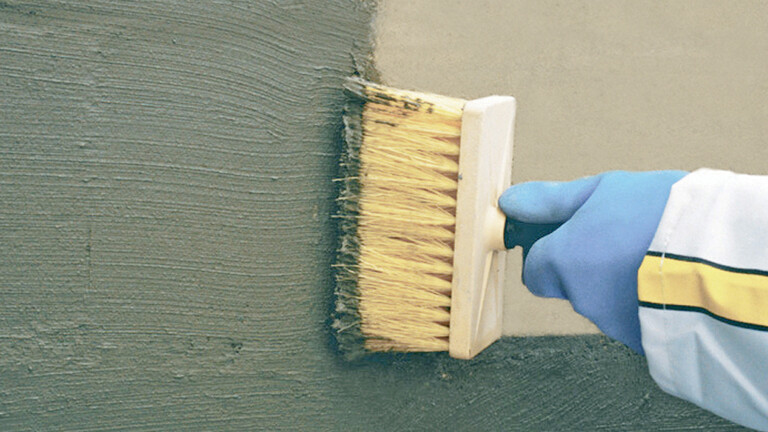
Full waterproofing system should be applied before putting the swimming pool in service. 

Swimming pool system design

Plastering

The substrate of the concrete walls must be aligned in order to have the tiles fixed therefore plastering work is to be applied after repairing work.

Therefore, we offer plaster products range that comply with the swimming pool technical requirements.


Waterproofing

Swimming pools are in permanent water immersion and subject to water pressure or to counter-pressure when the pool is empty. Thus, weber offers a high performance flexible cementitious waterproof.


Tiling and Grouting

Walls and floors of the swimming pool are ready to receive the final step of this system.

It is necessary to use tile adhesives that are able to resist movements and deformations caused by changes in water pressures. The size and volume of your swimming pool plays an important role when deciding what tile adhesive to choose. 

Weber offers a high performance range of cementitious tile adhesives, grouts and epoxy grouting products that best suit swimming pool applications .


Swimming pool treatement

  1. Substrate preparation

    Remove dust, oil and any remainders; all substrate must be sound and clean. In newly built swimming pools, holes will appear caused by molding; use the plugging mortar weberdry 150 BLC.

    For honeycombing, big holes or damaged concrete, use weberep 331TX in one or two layers depending on the depth of the holes. All joint between vertical walls and ground must be treated by creating a groove of 2cm deep and 2cm wide and reconstitute on the 90° corner an angle curve form in an appropriate thickness with a non-shrink thixotropic mortar like weberep 331 TX.

  2. Plastering

    The substrate of the concrete walls must be aligned in order to have the tiles fixed therefore plastering work is to be applied after repairing work. Apply one coat of weberpremix key coat on thickness of 2 to 6 mm manually or by using a Tyrolienne spraying device. 

    For a better curing, keep spraying water twice a day. After 3 days of the curing process, apply one single layer of weberpremix fiber. Thickness can reach 15 mm and carry additional 3 days of curing. In case more thickness is required to achieve the alignment, then scratch the finishing coat and apply another one following the previous steps.

  3. Flooring screed

    The concrete floor has to be aligned as well, by using floor screed weberfloor 600 SCR/weberfloor 630 TSC/weberfloor easy 625. Mix the screed compound with the proper amount of fresh water as per each product technical data  sheet then pour the mixed product onto the floor and spread it with a steel trowel. Control joints in the existing substrate should be respected. For large areas, joints should be created every 25 m². Avoid fast drying in case of hot temperature or wind by regular curing process.

  4. Waterproofing

    After assuring that all the above steps have been maintained, the swimmig pool is ready to receive the final product in the cement waterproofing system, weberdry 110FX - the flexible high performance product is to be used in 3 layers:

    • 1st layer with sufficient thickness 0.5kg/m²:
      - Use a brush or a roller.
      - Fix 20 cm width of fiber mesh on all corners, joints and cracks while the waterproofing layer is still wet.
    • When dry, apply the 2nd and 3rd layer in proportions of 0.5-1 kg/m²

    It is recommended that the tiling start one week from the application of weberdry 110 FX. When needed flood test on weberdry 110 FX can be carried out prior tiles fixing.Allow one week curing before flood test.

  5. Selecting your weber tile adhesive

    The three main factors that are considered when selecting the appropriate weber products for tiling swimming pools are:

    1. Substrate: Often, when tiling in swimming pools the substrate will be a cement based waterproofing film. As regular cement based substrates, the cement based waterproofing needs to be cured, solid, well adhered and clean from dusts or other contaminants. 

    2. Pool size: This key factor indicates the pressures and stresses that the tile adhesive will be subjected to.

    • Small-sized swimming pools: From jacuzzis, decorative fountains to small family backyard pools. It is recommended to use a C2S1 tile adhesive when tiling in these types of pools. In some cases, using a C2 tile adhesive is also possible, like when tiling the smaller pools or tiling with small tiles. 

    • Medium-sized swimming pools: Residential compound pools, private and family pools not exceeding 80m3. It is recommended to use a C2S2 tile adhesive in these swimming pools however, in some cases like when tiling with small tiles, it is possible to use a C2S1 tile adhesive. 

    • Large-sized swimming pools: Olympic pools, public resort pools and water tanks that are greater than 80m3. It is recommended to use a C2S2 tile adhesive in these swimming pools. 

    3. Tile size & type: This factor indicates the different characteristics of various tiles. 

    • The larger the tile size, the greater surface area it has and the greater the surface area is, the higher the pressures and strains on the tile are. To compensate, highly deformable C2S2 tile adhesive are recommended.    
    • Tile absorbency is an important factor, Low absorbency or non-absorbent tiles are harder to bond than absorbent tiles that adhere easier to substrates.
    • Tile type, mosaic, ceramic or porcelain. Each type of these tiles have different characteristics and many versions exist of these tiles. 


    Note: Please consult weber technical teams for further insight.

  6. Tiling & Grouting

    1. Tiling 
    • After choosing the appropriate tile adhesive to work with, the tiling process can begin by mixing the chosen product using an electric mixer according to recommendations. 
    • Apply the tile adhesive evenly on the substrate. Use a notched trowel to have the required thickness. Apply the tiles on the substrate and press them firmly, while making sure that the paste does not slip from the tile sides. Tile adhesive can also be applied on the back of tiles to ensure full adhesion on the entire surface.
    1. Grouting 
    • After the fixation of tiles, all the area must be cleaned with fresh water and kept untouched for 24 hours in order to allow the tiling to set, then all the tile joints should be filled or grouted with weberepox easy, weberjoint perfect.
    • Apply weberepox easy or weberjoint perfect with a rubber spatula into the joints by filling all the gaps. Remove surplus grout with a damp sponge. Use the product within its pot life, after mixing. When the grout is dry, clean the tiles with a dry cloth.


    Note: Please consult weber technical teams for further insight.

Technical Solutions

See all solutions