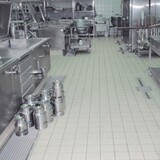
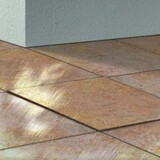
Hygiene, chemical resistance, waterproofing, tile fixing and tile grouting constitute main requirements for our bathrooms and kitchens. Weber tile fixing, flooring and waterproofing range of products provide the best solutions for your requirements. 

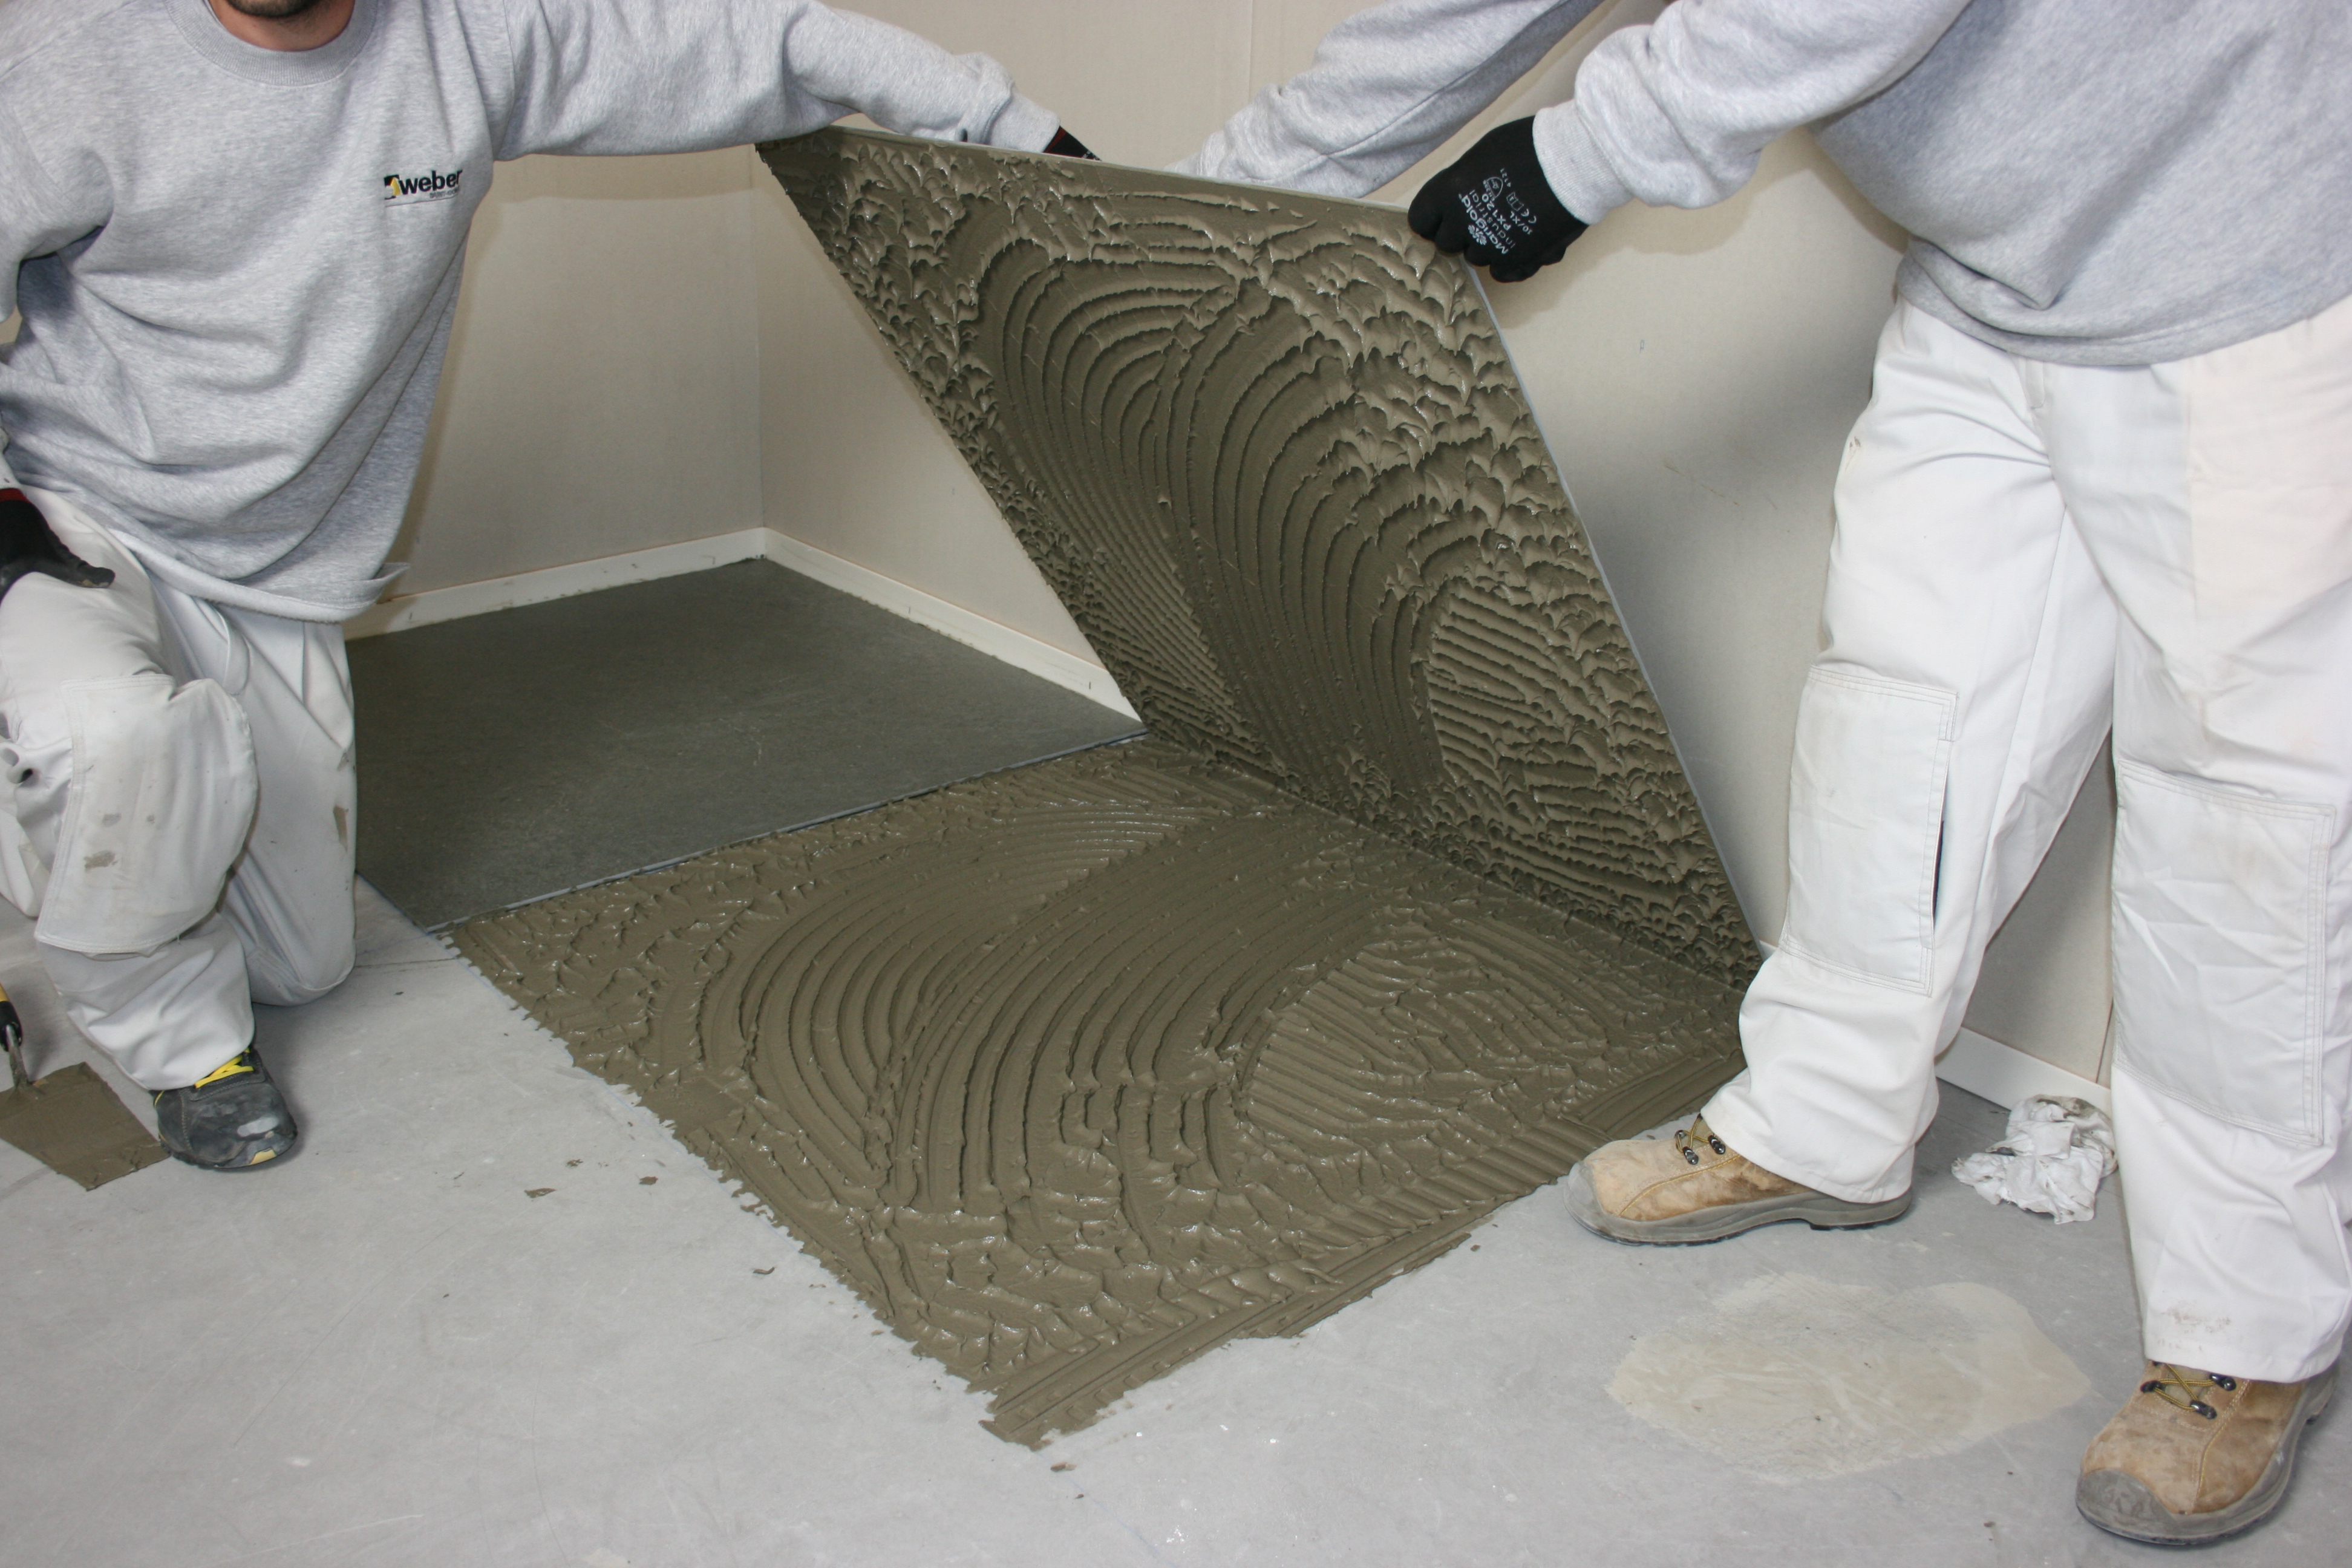
Tile adhesives and tile grouts developed by Weber meet international standards, specifications and your requirements. Specific and innovative solutions are available for all different types and dimensions of tiles installed in various areas. 

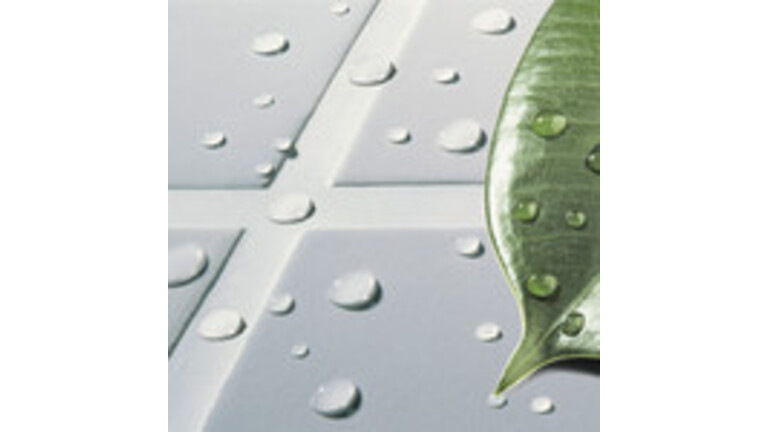
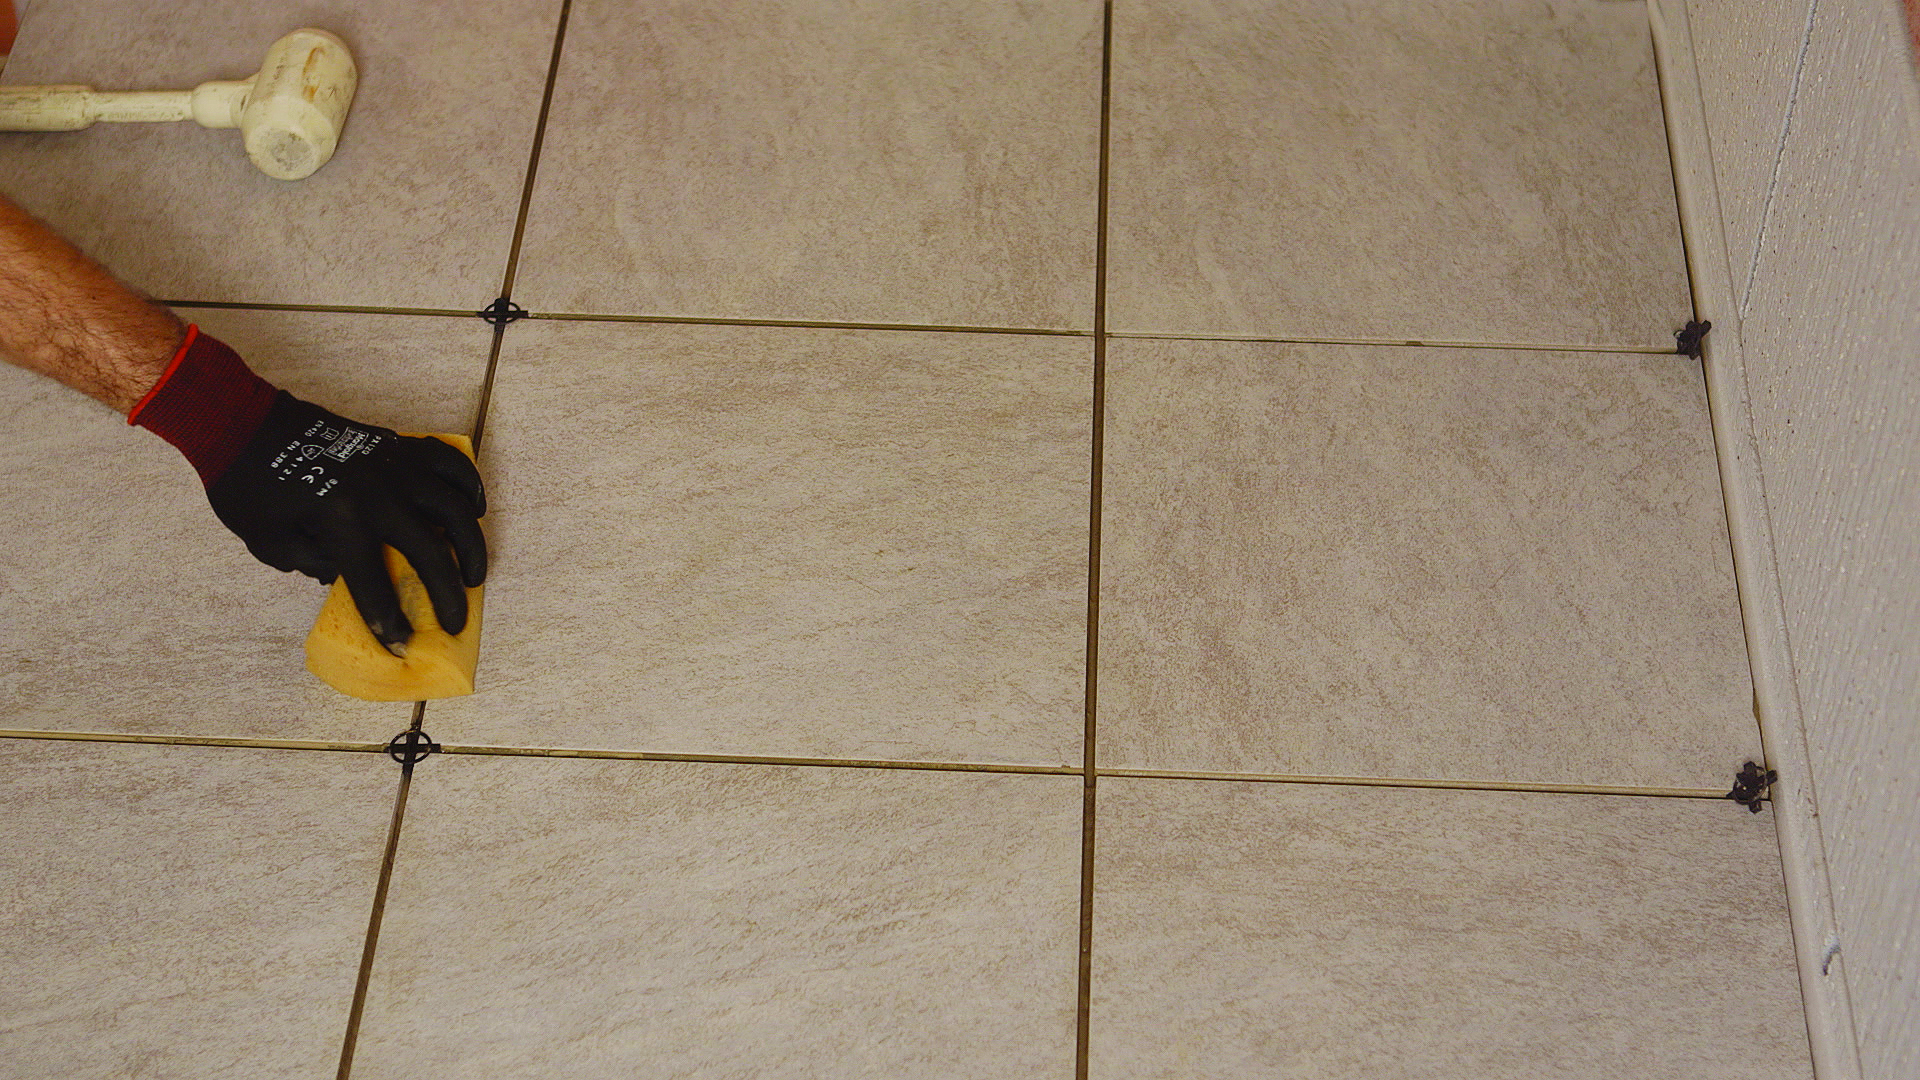
Weber tile grouts limit bacterial, fungal and mold growth in bathrooms and kitchens while maintaining a durable and esthetical style that meets everybody's taste due to our wide range of colors.  

Bathroom & Kitchen Solutions

Bathrooms

Bathrooms are one of most critical areas in your project. To avoid water leaks, bacterial growth, debonding tiles, etc...

Weber provides the best solutions for waterproofing, leveling, tiling and finally grouting your bathroom. 

Kitchens

Designing kitchens usually requires to consider the difficult conditions of this area such as; food preparation and storage, resistance to stains, water pipes etc... 

To protect your kitchen, Weber offers a full range of waterproofing, plastering, tiling, and grouting solutions for the floors, walls and the ceilings of kitchens.    

Tiling steps

You may follow the below general guide steps before, during and after your tiling applications. The steps considers tiling your indoor wet areas such as bathrooms and kitchens where existing cement-based waterproofing membranes or other substrates needs to be covered. 


  1. Substrate preparation & inspection.

    Tiling over cement based waterproofing: 

    1. Check the substrate for any waterproofing inconsistencies (bulging, variances in thicknesses etc).
    2. Check the substrate for poorly bonded waterproofing material due to improper preparation or application. 
    3. Check that the waterproofing material has well cured, dried and is admissible.  


    Tiling over concrete & cement render substrates: 

    1. Remove any loose particles, dust, oils or inconsistencies on the substrate. 
    2. Check the substrate's resistance as weak substrates cannot bare the heavy loads of large tiles and may give way in time.   
    3. Check that the substrate has well cured and dried and that any shrinkage has already occurred.


    *Tiling over steel/iron, gypsum plaster, gypsum boards or wooden substrates requires different application techniques, sometimes with the use of a special tile fixing primer called webercol Prime to better insure the proper adhesion of the tiles.


  2. Selecting your weber tile adhesive.

    ( C2 ) Class weber tile adhesive is advisable for: *e.g  

    • Tiling over cement based waterproofing.
    • Low porosity tiles and substrates.
    • Large tiles.
    • Heavy tiles.    

    ( C1 ) Class weber tile adhesive is advisable for: *e.g

    • Small tiles. 
    • Highly absorbent tiles. 
    • Highly absorbent substrates.


    ( E ) Performance weber tile adhesives offers the tiler; extended open time which allows a grace period before and after fixing the tiles to be slightly arranged at their final position. 

    ( T ) Performance weber tile adhesive offers the tiler; slip resistance characteristics useful in vertical application. 

    ( S1 ) Performance weber tile adhesive offers; deformability which accommodates for some movements after tile fixing. 

    ( S2 ) Performance weber tile adhesive offers; high deformability which accommodates for some movements after tile fixing. 

    ( F ) Performance weber tile adhesive offers the tiler; fast bonding and curing characteristics which allows for a quicker job and access to tiling areas and prevents large thing tiles from bending or wrapping. 

    *For further technical assistance, weber technical teams available in your country, will be glad to offer the support needed in order to help you select the right tile adhesive class and grade.


  3. Application of the tile adhesive.

    Start your application with the chosen weber tile adhesive by:

    1. Mixing the tile adhesive according to specifications. 


      2. Applying over the substrate in areas of around 1m² while considering

    • The time needed to ready the tiles for fixing  
    • The chosen tile adhesive's open time
    • The substrate's porosity and absorption. 
    • The varying temperatures, winds and moisture conditions as they affect the tile adhesive's open time


       3. Applying over the back of the tiles when;

    • Exceptional performance is required.     
    • Under special tiling applications. 
    • Ensuring complete tile adhesive cohesion. 


  4. Fixing the tiles

    Start laying your tiles by:

    • Placing them slightly away from their final positions and drag the tiles to their fixing place with some slight movement using your hands.
    • Ensuring that the tile adhesive strips have well cohered to the back of the tiles. Use a rubber hammer if necessary to help you achieve this result.
    • Checking that the whole area of the back of the tile is completely covered with the tile adhesive.
    • Allowing your tile adhesive the needed time to rest, cure and bond.
  5. Joints preparation

    Start preparing your tile joints by:  

    • Removing the excess tile adhesive inside your joints so as to have a plausible & equivalent depth all through your joints. Doing so while the tile adhesive has not set yet could be easier.
    • Cleaning the areas around the joints & on the surface of the tiles. Doing so will help protect the tile grout color from any contamination and avoid discoloration during the application.   
    • Dusting your joints with a vacuum and ensuing that no water, moisture, dust, oils and other residues are caught inside. 


  6. Tile grout application

    Before applying your tile grout:

    • First allow the tile adhesive to dry and cure for at least 24 hours. ( F ) Performance weber tile adhesive can be grouted in few several hours. 
    • Consider the chosen tile grout's pot life
    • Consider the varying temperatures, winds and moisture conditions as they affect the tile grout pot life
    • Ensure enough labor is allocated for grouting in time, before the mixed grout drys and loses workability as adding water to regain workability is not recommended.  
    • Mixing your selected weber tile grout according to specification.  


    Start applying your chosen weber tile grout by:

    • Filling the joints using a rubber spatula.
    • Appling the tile grout diagonally over the joints. 
    • Pressing into the joints & filling them completely.
    • Cleaning the applied areas with a damp as soon as the tile grout hardening process begins in order to remove the excess material .
    • When the grout is completely dry, clean the tiles using a dry cloth.


Cases and solutions

See all solutions

Weber Middle East
news

Environmental Product Declarations (EPD)

Check our verified EPD roadmap in the Middle East!

Weber Middle East
news

weber euroflor (Design / Terrazzo)

A new level in sustainable flooring

Weber Middle East
news

weberoof SPF

Waterproofing & Thermal Insulation Roofing System

Weber Middle East
Flooring

Decorative flooring in prestigious offices

Nowy Swiat 2.0
WARSAW / POLAND

Weber Middle East
Flooring

Industrial floor renovation in production plant

Plant "Waterfall PRO
SHAHTY / RUSSIA

Weber Middle East
Flooring

Industrial floor renovation in production plant

Publishing house "Prof-Press
AKSAI / RUSSIA

Weber Middle East
Flooring

Decorative floor in car showrooms

AMG Performance Centre Showrooms
CAPE TOWN, JOHANNESBURG, PRETORIA / SOUTH AFRICA

Weber Middle East
Flooring

Comfort floor heating and acoustic insulation in hotel

Copperhill Mountain Lodge
ÅRE / SWEDEN

Weber Middle East
Flooring

Industrial and decorative floor in commercial building

Stockholms modecenter
STOCKHOLM / SWEDEN

Weber Middle East
Flooring

Underlayment and decorative floor in university building

Linné Universitetet
VÄXJÖ / SWEDEN

Weber Middle East
Flooring

Decorative floor in commercial building

Tegelbruket
ÖREBRO / SWEDEN